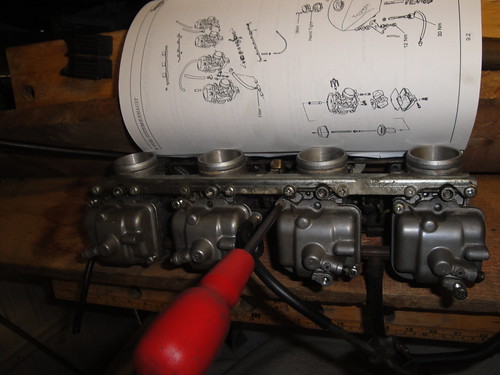
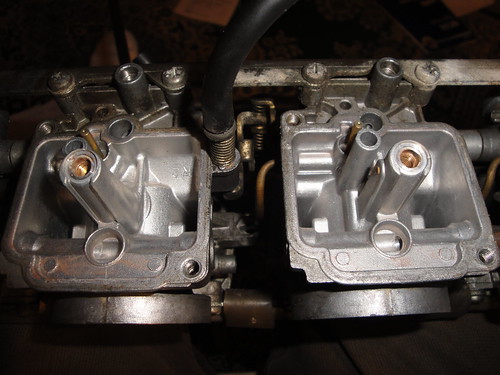
The 125BHP 1991 Trophys are fitted with a bank of four Mikuni BST36 flat slide constant velocity carburettors with the serial number 1240010T0301.
- Cylinders one and four both have SE60-3 jet needles and 112.5 mains.
- Cylinders two and three both have SE77-3 jet needles and 117.5 mains.
- Needle jets (0.8) and pilot jets (40.0) are common to all four carbs.
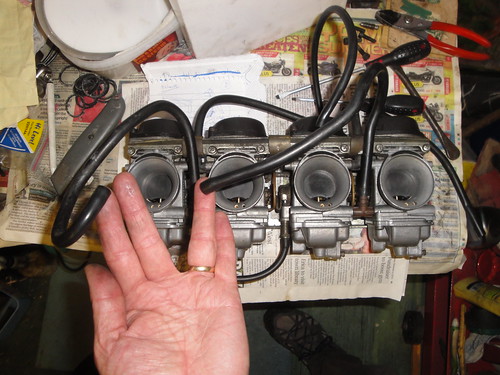
The carbs strip down without much drama, as long as the bank is firmly supported so you can get a good grip on a Philips #2 screwdriver to release the float bowls. I found that corrosion had crept between the float bowl seals and the carb bodies throughout. I cleaned it off with a blunt screwdriver and WD40. The float levels needed minor adjustment only (a millimeter or two). There was a fine rust-brown deposit in all the bowls.
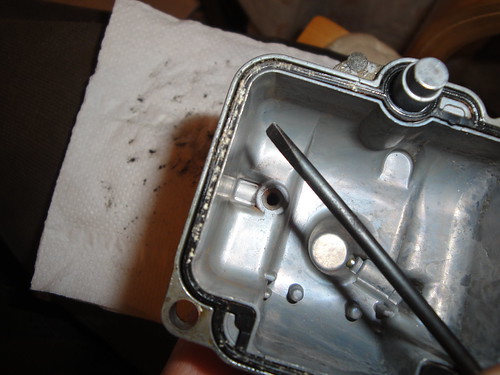
There are two plastic mesh filters fitted into the fuel line spigots as standard. These showed no evidence of contamination. I think the stuff that had collected in the float bowls was too fine to be stopped by the plastic filters. In fact, the petrol tap also incorporates a fine plastic mesh filter - still too coarse to have kept this silt from the carb bodies. An old toothbrush and carb cleaner sorted this out in a thoroughly satisfactory manner.

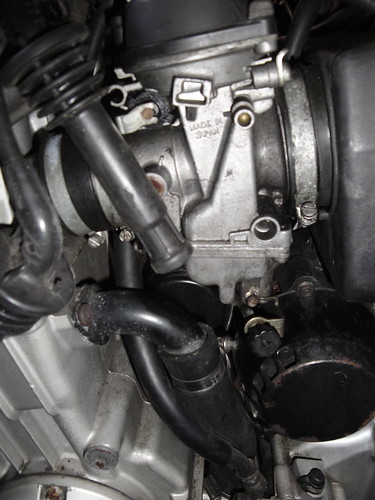
 The carbs are fed by two fuel lines, each being 7mm bore preshaped plastic pipes. Both had hardened over time - quite understandably - making me think it would be unsafe to reuse them. I bought a meter of 7.6mm bore fuel injection hose and some new hose clips to replace them, along with two inline fuel filters with paper elements.
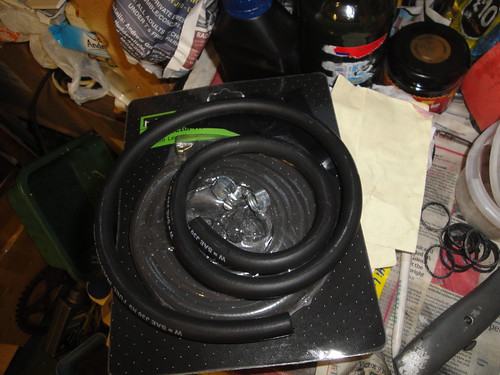
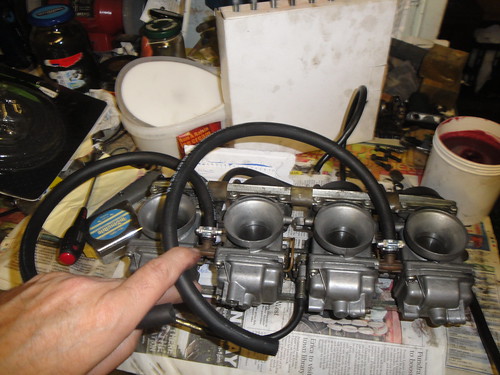
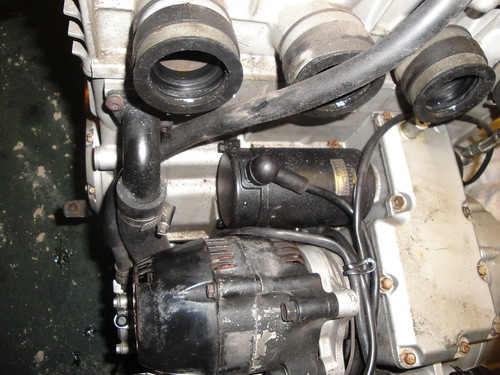
The fuel injection hose is double walled which means it is robust and will resist kinking. The downside is that they won't tolerate tight bends. I allowed about 5cm of extra length on each pipe, plus the fuel filters each being about 5cm long, to accommodate the wider turns the injection hose would need. There is plenty of room around the front and rear sides of the petrol tap. Unfortunately, the same is not true to the rear of the tap where one of the hoses and a vacuum line attach. Judicious juggling and careful routing of the main wiring harness are needed to make it work. More on that later. The additional length of the hoses means that I can uncouple the low fuel sensor wire, release the front of the petrol tank and rotate it 180 degrees to rest on the rear subframe for engine testing and tuning.

No comments:
Post a Comment